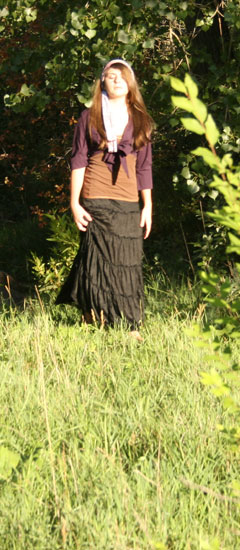
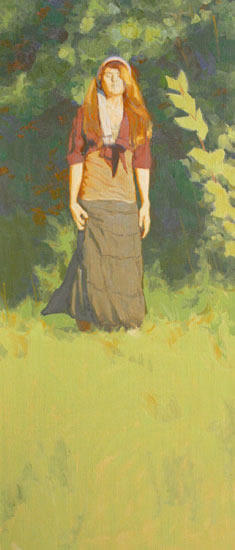
For this studio painting I used Claessens double oil primed linen canvas, #15 (my usual painting surface), mounted on 1/2" Gator Board. This painting, as with most of my larger paintings, was completed using a photograph as my reference (shown below).
Step 1: Preparing the Photo
I first crop my photo so that it will be the same proportion as my canvas. This way I can more easily place all the elements correctly when painting the scene. While considering this photo as a painting source, I decided that it would be interesting to do the painting in a higher key than the photo. Painting in a higher key simply means that all the dark and middle-range values in the painting are lightened, while all the colors become more saturated. All the values still have to relate to each other properly, but the range of values to work with becomes more narrow. The darkest darks in the painting become mid-tone values, while the lightest lights remain about the same value as usual.
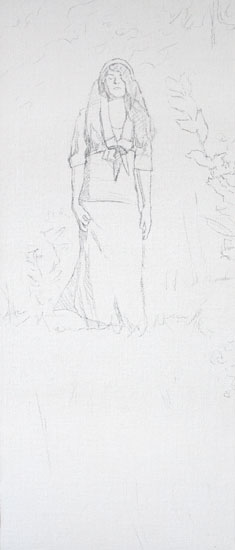
Step 2: Drawing
I then do a fairly detailed drawing on my canvas. In this case, I use vine charcoal and make sure to take as much time as necessary since my drawing will provide me with the direction I will follow for the rest of the painting. As I draw, I take careful measurements using my reference photo to make sure everything ends up the right size and in the right place. Once I'm satisfied with this step, I spray the canvas with fixative so that I won't lose my drawing (paint thinner quickly erases charcoal).
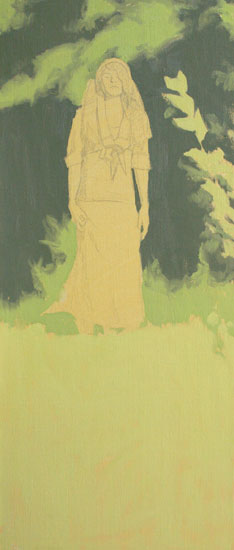
Step 3: Toning the Canvas
My next step is to apply a wash of color to the canvas. I like to use a color and value that is similar to some area of the scene -- in this case, the foreground.

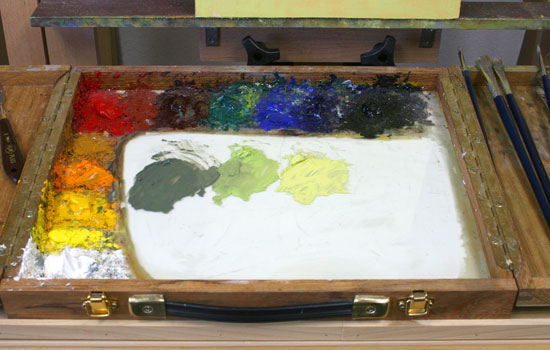
Step 4: Color Mixing
Now that I am ready to start painting, I use a palette knife to mix up large piles of the colors that I will need to block-in the main areas. (My palette colors are listed below, starting from the bottom left on my palette and working upwards and to the right.)
Titanium White
Cadmium Lemon
Cadmium Yellow
Cadmium Yellow Deep
Yellow Ochre
Cadmium Red
Terra Rosa
Alizarin Crimson
Transparent Oxide Red
Viridian
Cobalt Blue
Ultramarine Blue
Ivory Black
Step 5: Block-In
Using the large piles of paint that I mixed, I start to block-in all the main colors in the scene, focusing on the big shapes.
Step 6: Continued Block-In
I continue to cover the canvas with the approximate values and colors of each shape. Throughout this process, I do a lot of squinting at my photo and at my painting to compare the value relationships between shapes. Even though I'm painting in a higher key, all the values and colors still need to relate properly to each other. I also like to begin to develop my focal area (the figure and her face) since that area will be the most important part of the painting.


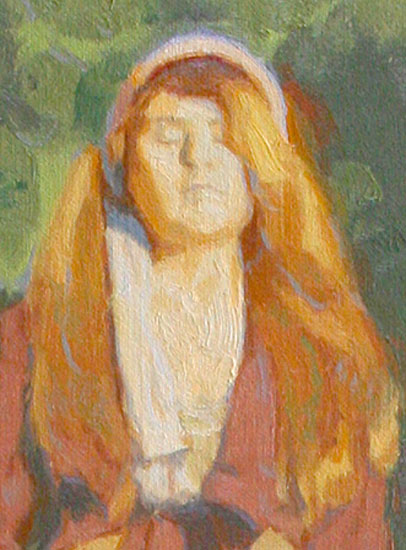
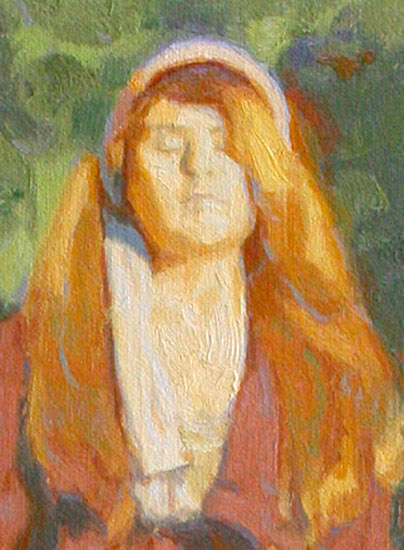
Step 7: Details
Once all the major shapes are established, I return to the figure and begin to refine the big shapes and add smaller shapes (details). I also start adding details to the background.
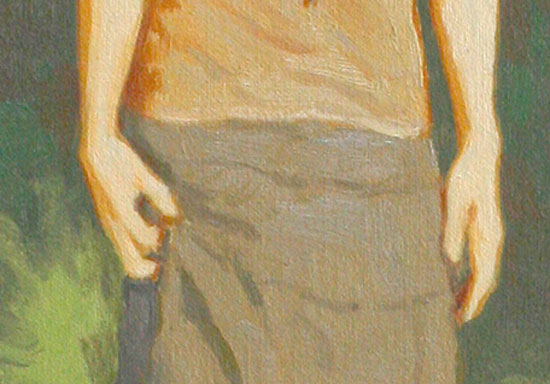
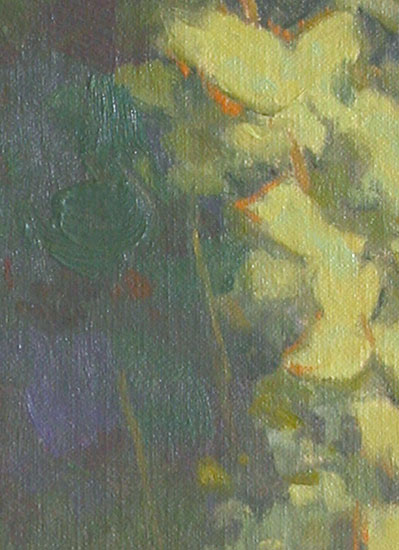
Step 8: Refining
I'm still adding details in this step, while trying to keep any area from becoming overworked. I want to keep my shapes simple, yet make sure that they contain enough information to look finished and deliberate. As I work on the background, I try to make the shapes simpler than the shapes in the figure so that the background doesn't compete for visual dominance with the figure. I want the figure to be the dominant part of the painting. I'm also thinking about variety of textures in this step to keep each area interesting. I'm adding larger, thicker strokes of paint in the background to further differentiate it from the smaller strokes in the figure.


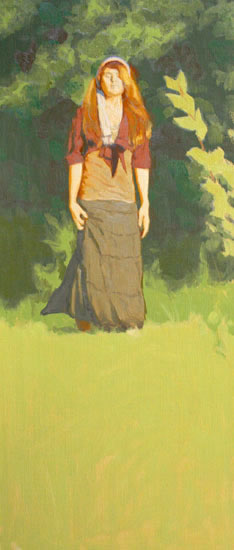
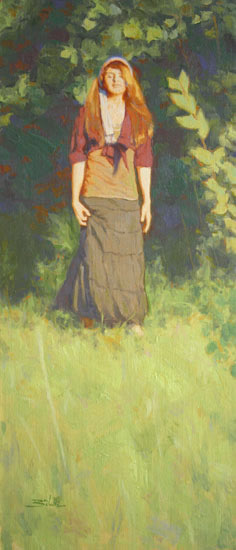
Step 9: Final Refinements
Now that the painting is nearing completion, I once again check it for accuracy by looking at it in a mirror. I realize that the face of the figure needs a little more work, so I return to that area to make final adjustments there. Then I work on the foreground grasses, making sure to keep them quite simple so that they don't compete with my focal area (the figure). My last step includes checking for any area of the painting that stands out as distracting from my focal point, or any other area that seems incorrect. Once I've done that, I'm finished!


|